Experience & Vision

7 Tips for Choosing the Best Tray Packaging Machine

Choosing a tray packaging machine is not just a matter of matching a speed rating to a production target. The right equipment must handle your actual products, trays, and working conditions. A machine that performs well with rigid plastic trays may need different tooling for paperboard or varied tray sizes. Small details matter. Check product dimensions, tray depth, sealing requirements, and how often operators will change formats. These factors can affect throughput, packaging quality, and downtime.

This guide outlines seven practical tips for evaluating equipment before you buy. It covers machine capacity, compatible materials, changeover time, automation, footprint, cleaning access, and supplier support. Ask vendors to demonstrate your products on the proposed system, then review the results against clear acceptance criteria. Look closely at seal consistency, tray alignment, and actual cycle performance—not only figures on a brochure. A faster line is not always a better fit. That sounds obvious, but it is easy to overlook when production plans are changing. Also consider the people who will operate and maintain the machine; complicated adjustments can become a daily frustration. No checklist can replace a proper trial, and specifications may not capture every factory condition. Use these tips to ask sharper questions, compare options fairly, and choose a tray packaging machine that fits your operation today while leaving sensible room for future needs.
7 Tips for Choosing the Best Tray Packaging Machine

What a Tray Packaging Machine Does and How It Fits Your Production

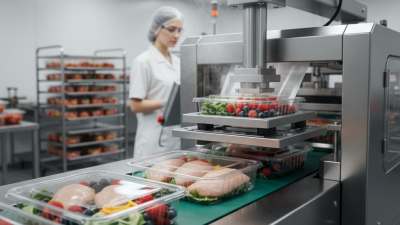
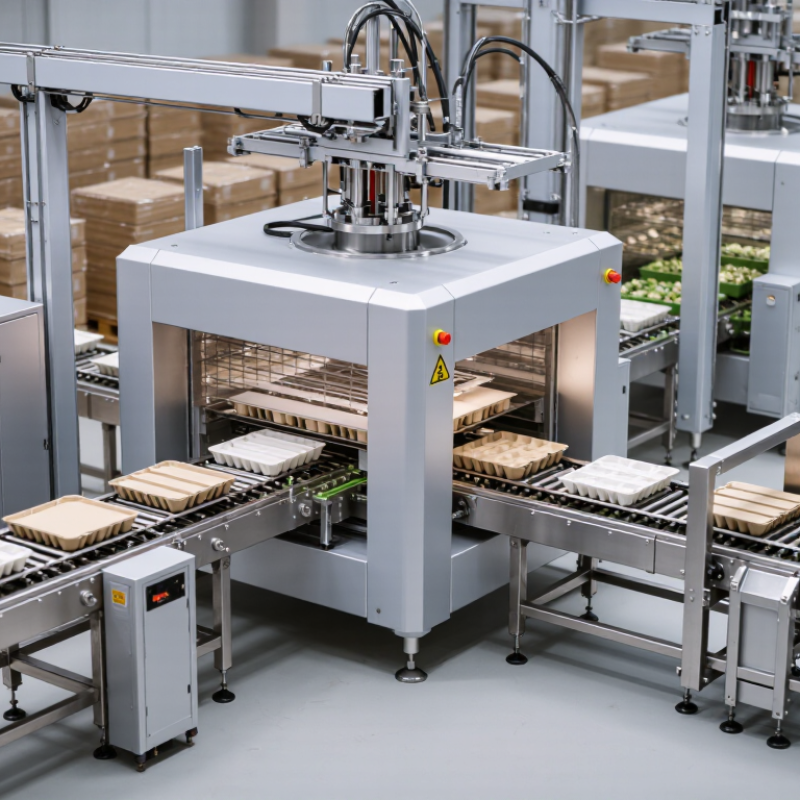
A tray packaging machine places products into trays and prepares them for handling, storage, or sale. Depending on its design, it may form trays from flat blanks, load pre-made trays, and seal them with film or a fitted lid. Some lines rely on operators to load delicate items; others use automated feeders. The machine may also print a date code or reject packs with faulty seals. Small details matter. A tray that catches at the infeed can slow the whole line, even when the sealing station runs smoothly.

To see how it fits your production, compare the machine with your product, tray size, and required output—not just its advertised speed. Watch a full run using your actual product. Note how often trays need refilling, how changeovers work, and whether operators can reach cleaning points without awkward movements. A neat brochure speed can be misleading. In practice, loading and stoppages often shape real throughput. Check how the equipment connects to upstream filling and downstream case packing, too. There may be a compromise: a faster cycle can mean more careful setup or more waste during changeovers. Ask for those details before deciding.

7 Tips for Choosing the Best Tray Packaging Machine

What a tray packaging machine does—and how its production capacity can fit your line.

A tray packaging machine positions products in trays and may seal them with film or a lid. The chart shows illustrative output calculated as cycles per minute × one tray per cycle × 60 minutes × 85% operating efficiency. These are example assumptions, not industry benchmarks; check a machine’s tested speed with your tray, product, and sealing requirements. When choosing a machine, consider product fit, tray dimensions, sealing needs, required throughput, changeover time, integration with your line, and cleaning and maintenance.

Which Products, Tray Materials, and Sizes Must the Machine Handle?

Start with the product, not the machine brochure. List the heaviest and lightest packs, product temperature, fill height, and whether contents are wet, oily, or fragile. Then test actual line speeds with the smallest and largest trays. Small details matter. An irregular rim can disrupt feeding, while condensation may affect sealing.

Specify tray material by its exact structure, not simply as “plastic” or “paper.” Record the resin or fiber type, coating, flange width, wall stiffness, and sealing window. The OECD’s Global Plastics Outlook (2022) attributes 40% of global plastic waste in 2019 to packaging. That figure makes material choice a practical design consideration. Confirm that feeding, sealing, and cutting systems suit the tray you plan to run; a material swap can change performance.

Measure tray length, width, depth, flange, nesting pitch, and stack height. Ask for trials using your own product and production samples. Include likely future formats, but avoid paying for flexibility you will not use. PMMI’s 2023 State of the Industry report discusses workforce constraints across packaging operations, making simple, repeatable changeovers worth evaluating alongside speed. A specification sheet helps. Real samples reveal the awkward parts.

How to Match Production Speed, Automation, and Available Floor Space

A tray packaging machine should match the pace of the whole line, not just its advertised cycle rate. Check how many filled trays your team needs per minute during an ordinary shift, then allow for brief stops, tray loading, and product changes. A machine rated for 40 trays per minute may not sustain that rate when workers manually replenish trays or clear jams. Ask for a trial using your actual tray size and product. Watch the infeed and discharge, not only the sealing cycle. Small delays add up.

Automation can reduce repetitive handling, but more automation needs space and maintenance access. A semi-automatic model may suit a short run with frequent product changes; a faster automatic line may make sense when output is steady. Consider who will adjust settings and clean the machine. Simple controls matter. I would not choose automation based on labor savings alone; that estimate can look neat on paper and miss real changeover time.

Measure the available floor area, including room to load film, open guards, and reach service panels. Mark the machine’s footprint on the floor with tape, then walk the route operators will use. Check nearby columns, doors, conveyors, and pallet staging areas. A compact machine can still create a cramped workspace. Leave room for routine tasks, even if the layout feels less efficient at first. It is easy to underestimate clearance. The final layout should reflect actual production habits, not just a drawing.

What to Check in Sealing Quality, Changeovers, Hygiene, and Controls

A tray sealer should prove its performance with your actual trays, film, and product—not just an empty test run. FAO’s 2019 State of Food and Agriculture report estimated that 13.2% of food is lost after harvest and before retail. That figure is not specific to packaging, but it underlines why dependable seals matter. Ask suppliers to run leak and peel tests across normal conditions, including trays with a little product near the flange. Small details matter.

Tips: Check seal consistency across every cavity; test changeovers with an operator and a stopwatch; inspect tool-free access to product-contact areas; look for smooth, drainable surfaces; confirm recipes and alarms are easy to use; review batch and fault records; and verify that staff can recover from a stop without guesswork.

During trials, record seal defects, changeover minutes, cleaning access, and recovery steps. Check the same measures after repeated cycles, not only on a freshly adjusted machine. Controls should show clear fault messages and keep settings traceable. I would not trust brochure cycle speed alone. It can hide awkward cleaning or slow recovery. A short trial can still miss real-world variation, so repeat it with different operators and shifts.

7 Tips for Choosing the Best Tray Packaging Machine - What to Check in Sealing Quality, Changeovers, Hygiene, and Controls

Tip What to Check How to Evaluate It Why It Matters
1. Verify tray and film compatibility Tray dimensions, material, flange shape, film type, and any required modified-atmosphere packaging (MAP) configuration. Run representative production trays and films through the machine. Confirm correct loading, positioning, cutting, and sealing across the products you plan to pack. Different tray materials and flange designs can require different tooling and sealing conditions. Compatibility testing helps identify fit or seal issues before purchase.
2. Test sealing quality Seal continuity, wrinkles, channels, contamination in the seal area, film cut quality, and package leak performance. Ask for trials using your actual product and packaging materials. Agree on suitable inspection or leak-testing methods, such as visual checks, dye testing, or vacuum-based testing, based on the package and application. A consistent seal helps protect product quality and shelf life. The appropriate test and pass criteria depend on the package design and intended use.
3. Measure real changeover time Time and steps needed to change tray tooling, film, recipes, and product settings; access to change parts; and whether adjustments require tools. Time a changeover between two representative formats, including removal, installation, adjustment, and first acceptable packs. Check that change parts are clearly identified and can be handled safely. Changeover time affects available production time. A practical demonstration is more useful than a quoted time that excludes adjustment or restart checks.
4. Assess hygiene and cleanability Product-contact materials, drainage, accessible surfaces, joints, guards, and protection of electrical and mechanical components during cleaning. Review the machine against your cleaning method and site hygiene requirements. Confirm materials are suitable for the cleaning chemicals and conditions used; stainless-steel grade selection should reflect corrosion and chemical exposure. Accessible, cleanable designs can reduce residue build-up and simplify sanitation. A component’s suitability depends on the actual environment and cleaning procedure.
5. Check output under production conditions Required throughput, loading method, product presentation, staffing, and the effects of stops, rejects, and replenishment. Request a sustained trial with representative products and operators. Record good packs produced over a defined period, and clarify what is included in any stated output rate. Machine speed alone does not show usable production capacity. Feeding, product handling, and routine interruptions can affect actual output.
6. Review controls and traceability Recipe management, access permissions, alarm messages, setpoint visibility, and the availability of production or fault records. Check that operators can select approved recipes, identify faults clearly, and access the information needed by maintenance and quality teams. Confirm data-retention and export options if required. Clear controls support repeatable operation and faster troubleshooting. Data features should match your process, documentation, and system-integration needs.
7. Confirm safety and service access Guarding, interlocks, emergency stops, safe access for cleaning and maintenance, spare-parts availability, and support arrangements. Review the machine risk assessment and applicable local safety requirements. Ask how routine maintenance is performed and confirm which spare parts and service resources are available for your site. Safe access and practical support help reduce avoidable downtime. Compliance and service needs vary by location and installation.

Evaluation note: Confirm performance using your trays, films, products, cleaning procedures, and acceptance criteria. Packaging results depend on the complete process, not the machine alone.

How to Compare Total Costs, Maintenance, and Supplier Support

A low purchase price can hide costs that appear after installation. Compare the full package: tooling, delivery, setup, operator training, energy use, and routine consumables. Ask for an itemized quotation, then estimate costs across a realistic production year. Include tray sizes, product changes, and cleaning time. A spreadsheet can make assumptions look precise, though changeovers often take longer than planned.

Maintenance affects both cost and daily output. Check whether operators can reach film paths, sealing areas, and common adjustment points without removing major panels. Ask how often wear parts need replacement and whether routine checks require special tools. Downtime costs. Request prices and typical lead times for critical spare parts, not just a general maintenance schedule. If possible, review the machine during a service task; a neat demonstration may not show awkward access.

Supplier support is part of the machine’s real operating cost. Ask who handles installation, training, troubleshooting, and follow-up, and whether support is available during your working hours. Confirm what the warranty excludes and how quickly parts can be dispatched. Give suppliers the same sample trays and production details, then compare their answers. Small details matter. Response quality is useful evidence, but one helpful sales call cannot guarantee dependable service. Test the assumptions against your shift pattern before choosing.

Go to Top